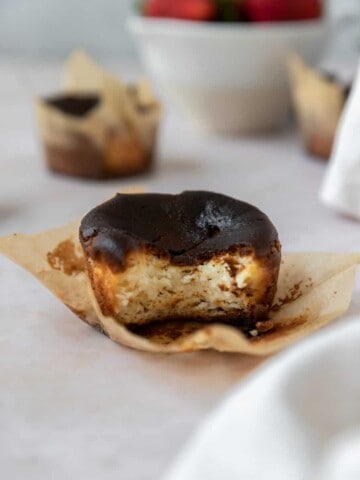
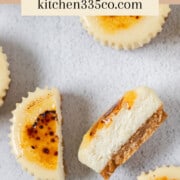
Mini Creme Brûlée Cheesecakes have a homemade graham cracker crust, a creamy vanilla cheesecake filling, and crunchy caramelized sugar crust on top. They are simple baked cheesecake desserts that are also elevated and delicious.
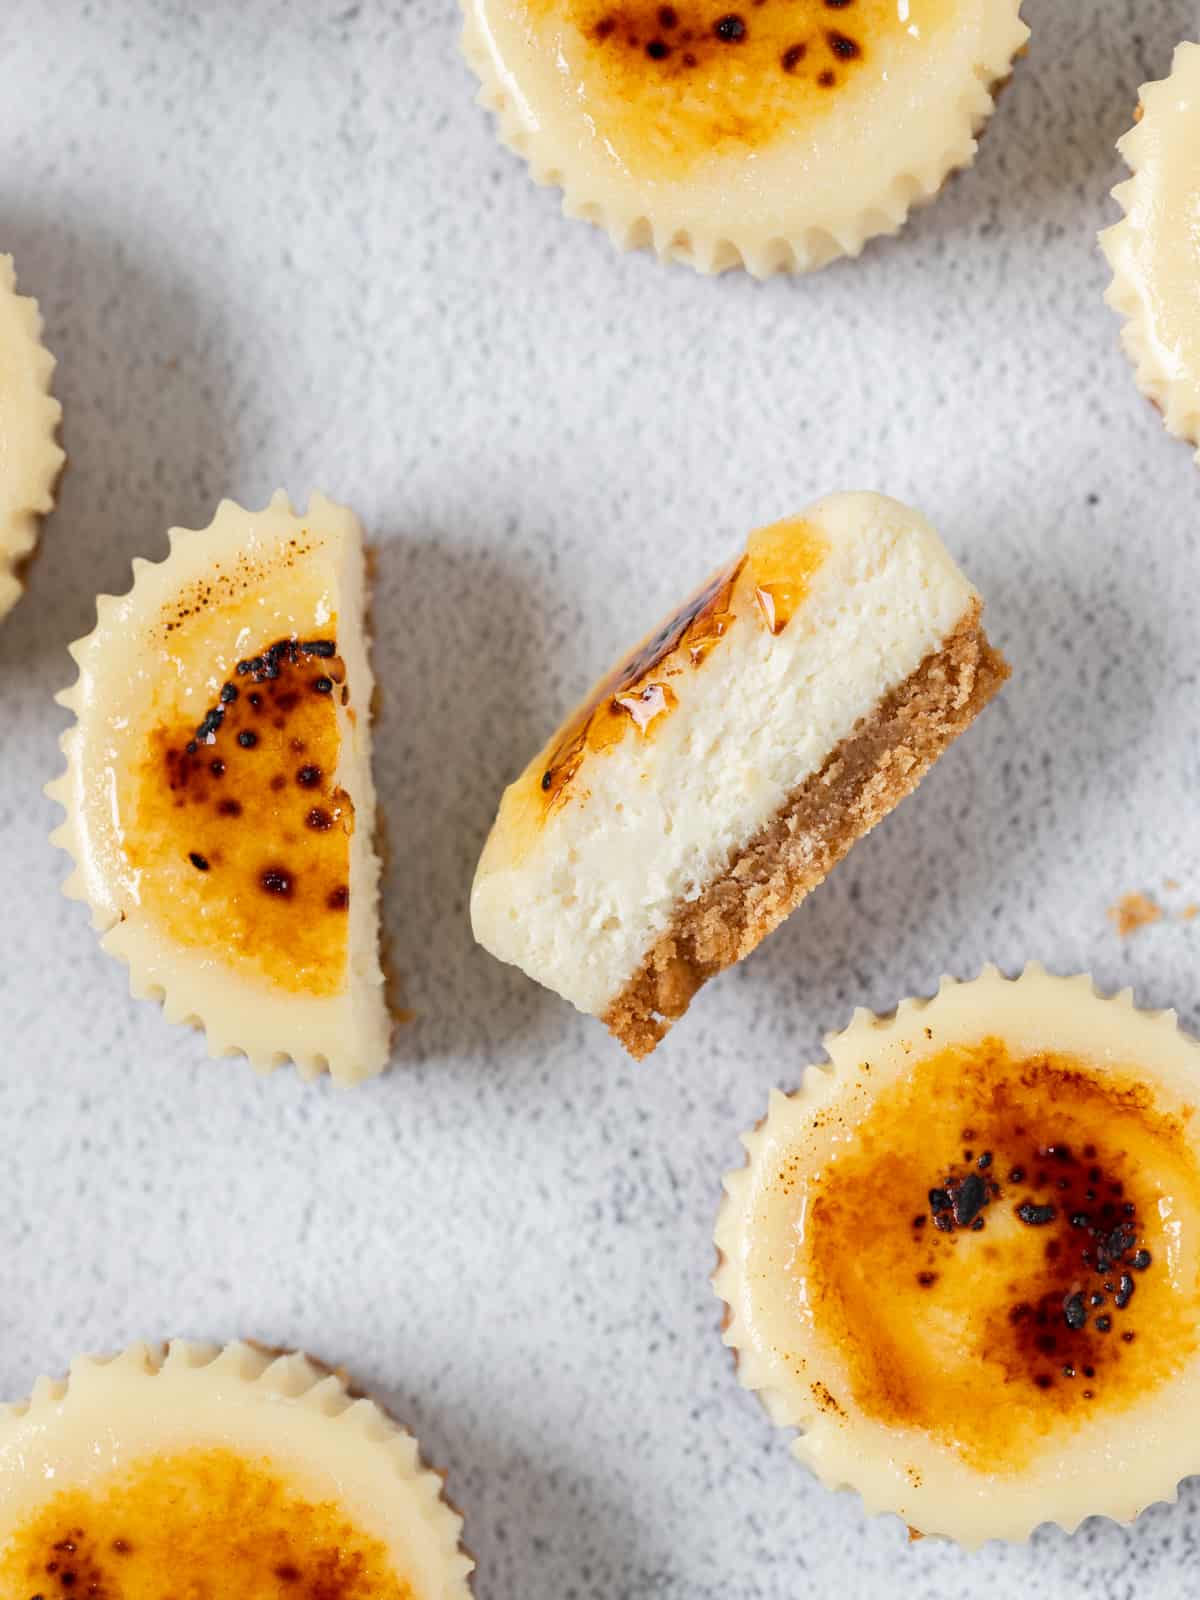
Cheesecake is one of my favorite desserts, but it can be a drawn out process, so I love making mini cheesecakes because they are so much quicker and just as delicious. Plus they are much easier to serve to a crowd. If you're a creme brûlée lover make sure to check out my Creme Brûlée Macarons!
If you're looking for more cheesecake recipes take a look at my Mini Burnt Cheesecakes, Strawberry Crunch Cheesecake, or Chocolate Covered Strawberry Cheesecake Bars.
Jump to:
Why You'll Love This Recipe
- These cheesecake cupcakes are a delicious fusion of flavors and textures with the creamy vanilla cheesecake and the caramelized sugar topping.
- They are a perfect serving size. You won't feel too full or unsatisfied after eating one of these! I feel the same way about my Mini Strawberry Cheesecakes.
- The presentation of the Creme Brûlée Cheesecakes is so beautiful!
Ingredients
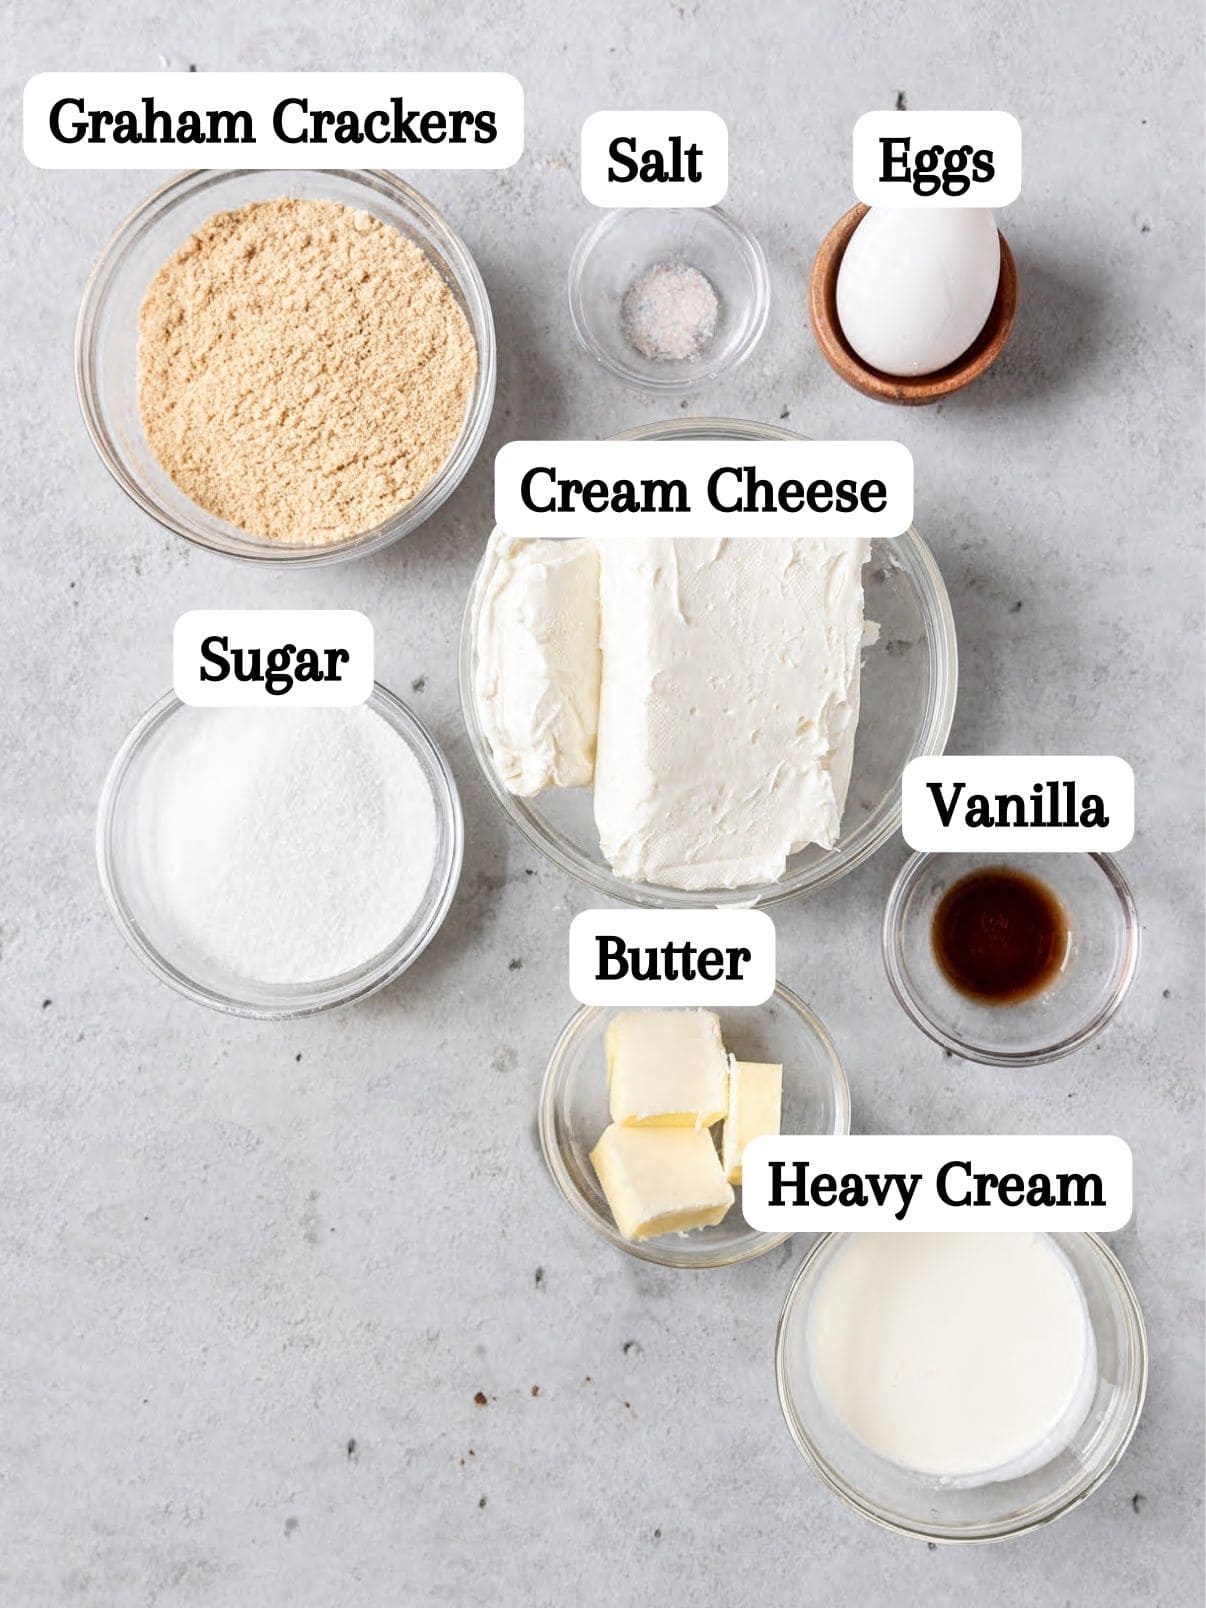
Ingredient Notes
- Graham Crackers will be finely crushed to make the crust. This S'mores Brownie Pie also has a tasty graham cracker crust.
- Cream Cheese needs to be at room temperature to prevent lumps in your cheesecake. Cream cheese is also the star in the icing of my Pumpkin Cake.
- Vanilla is a must in baked goods just like salt. Real vanilla adds a better flavor than imitation vanilla.
See the recipe card below for a full list of ingredients and measurements.
Substitutions and Variations
- You can bake the cheesecake in an 8x8 pan to make cheesecake bars.
- The cheesecakes can be baked in a mini cupcake tin to make cheesecake bites.
- Dissolve instant coffee into the cheesecake batter.
This recipe has not been tested with other substitutions or variations. If you replace or add any ingredients, please let us know how it turned out in the comments below!
Step-By-Step Instructions
STEP 1: Preheat the oven to 325 degrees (F). Line a 12 cavity cupcake tin with cupcake liners and set it aside.
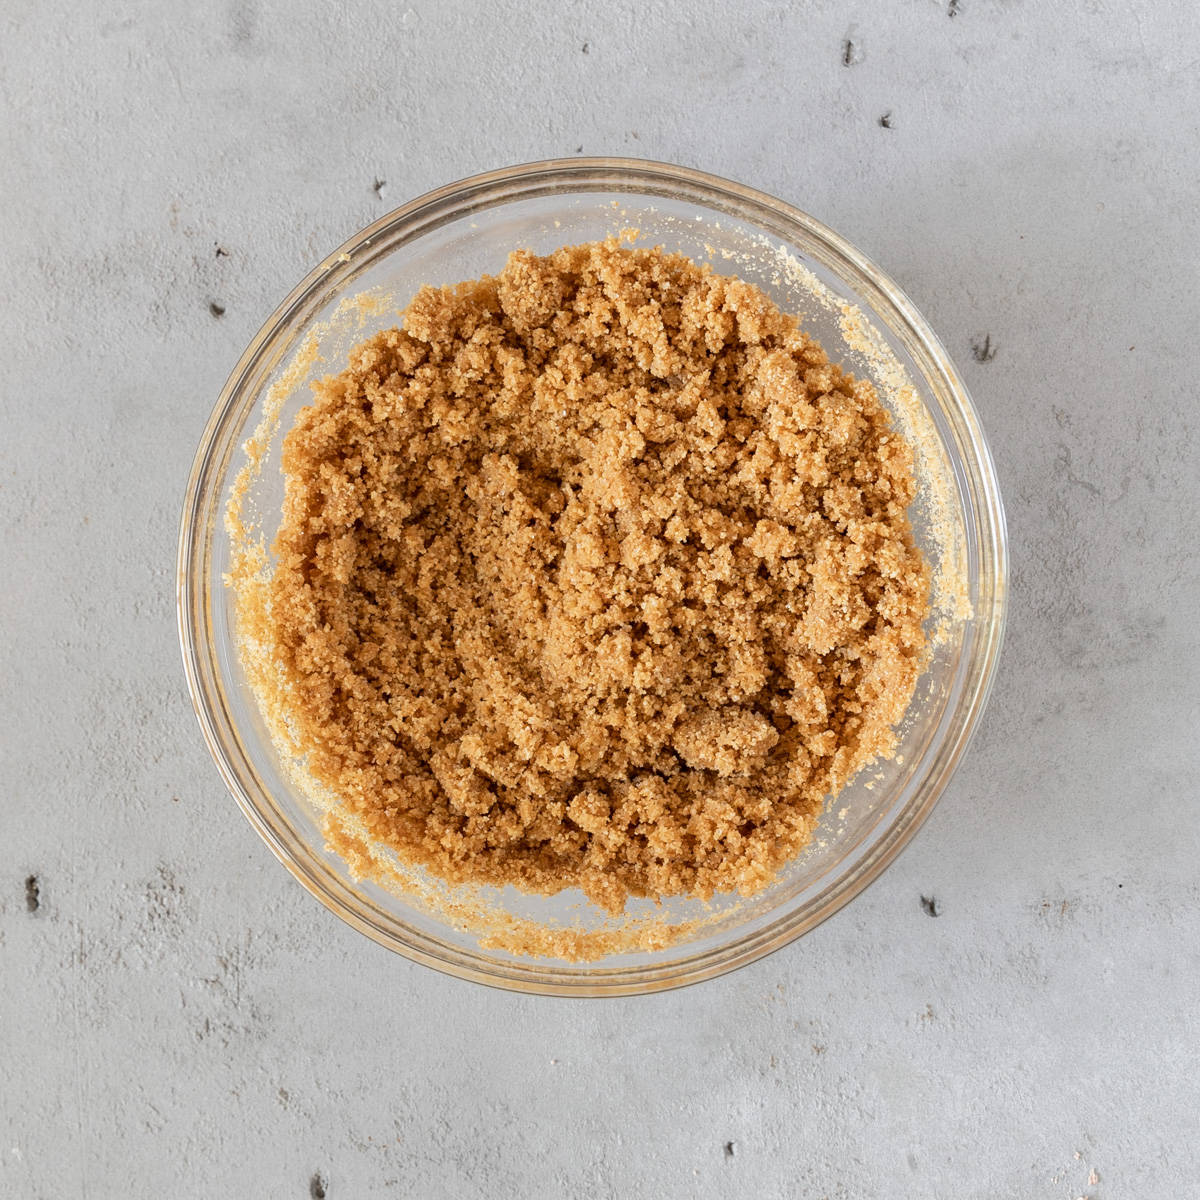
STEP 2: In a medium bowl mix the graham cracker crumbs, melted butter, salt, and sugar until well combined. The mixture should be the texture of wet sand.
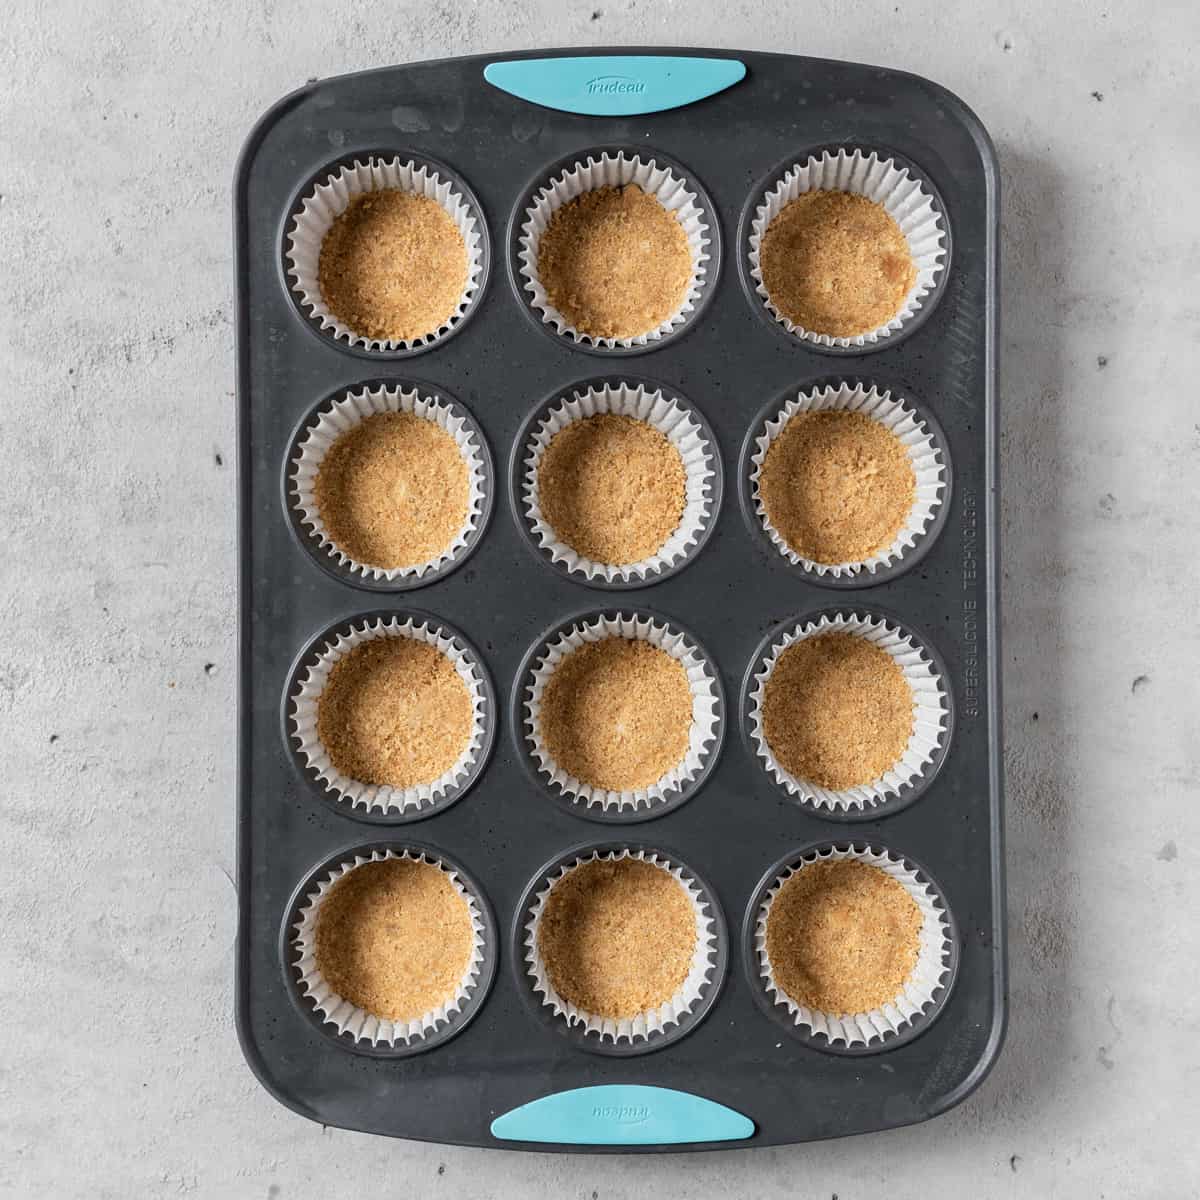
STEP 3: Use the bottom of a clean cup to firmly press about 1-1 ½ tablespoons of the crumb mixture into each liner. Bake the crusts for 8-10 minutes or until golden brown. Remove the pan from the oven and allow to cool completely.
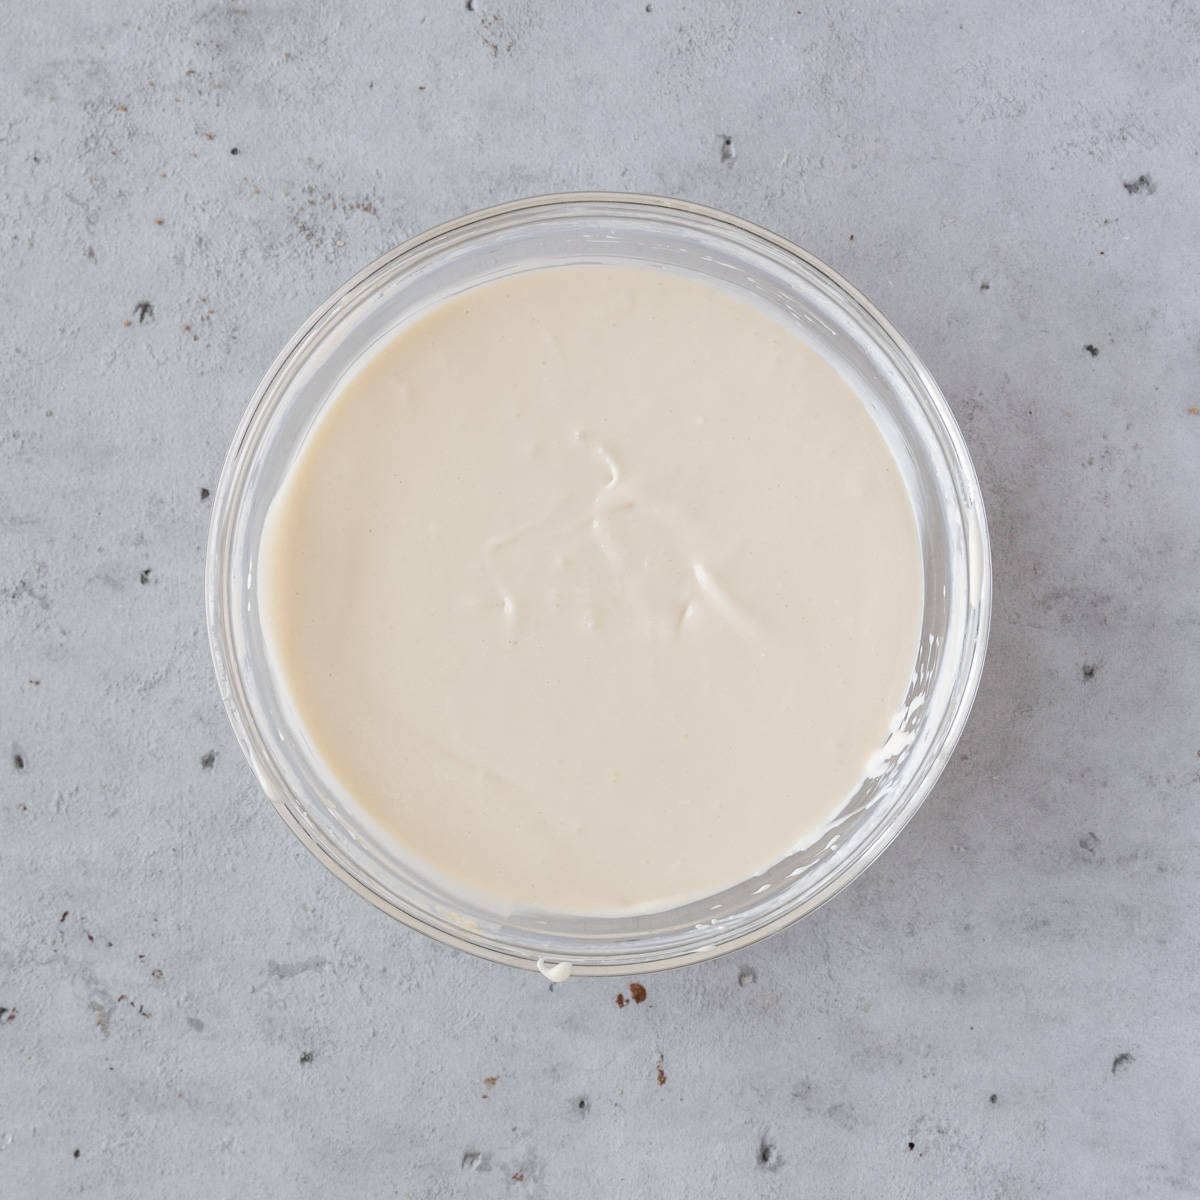
STEP 1: Turn the oven down to 300 degrees (F). In a large bowl with a hand mixer, beat the cream cheese and sugar together on low speed until fully combined and smooth. Add the eggs one at a time. Add the heavy cream and vanilla. Mix until fully combined. Fill each liner up almost to the top. Bake the cheesecakes for 15 minutes. Turn the oven off and allow the cheesecakes to sit in the oven for 30 minutes. Crack the oven door open and allow to sit until cooled to room temperature. Transfer cheesecakes to the fridge until ready to serve.
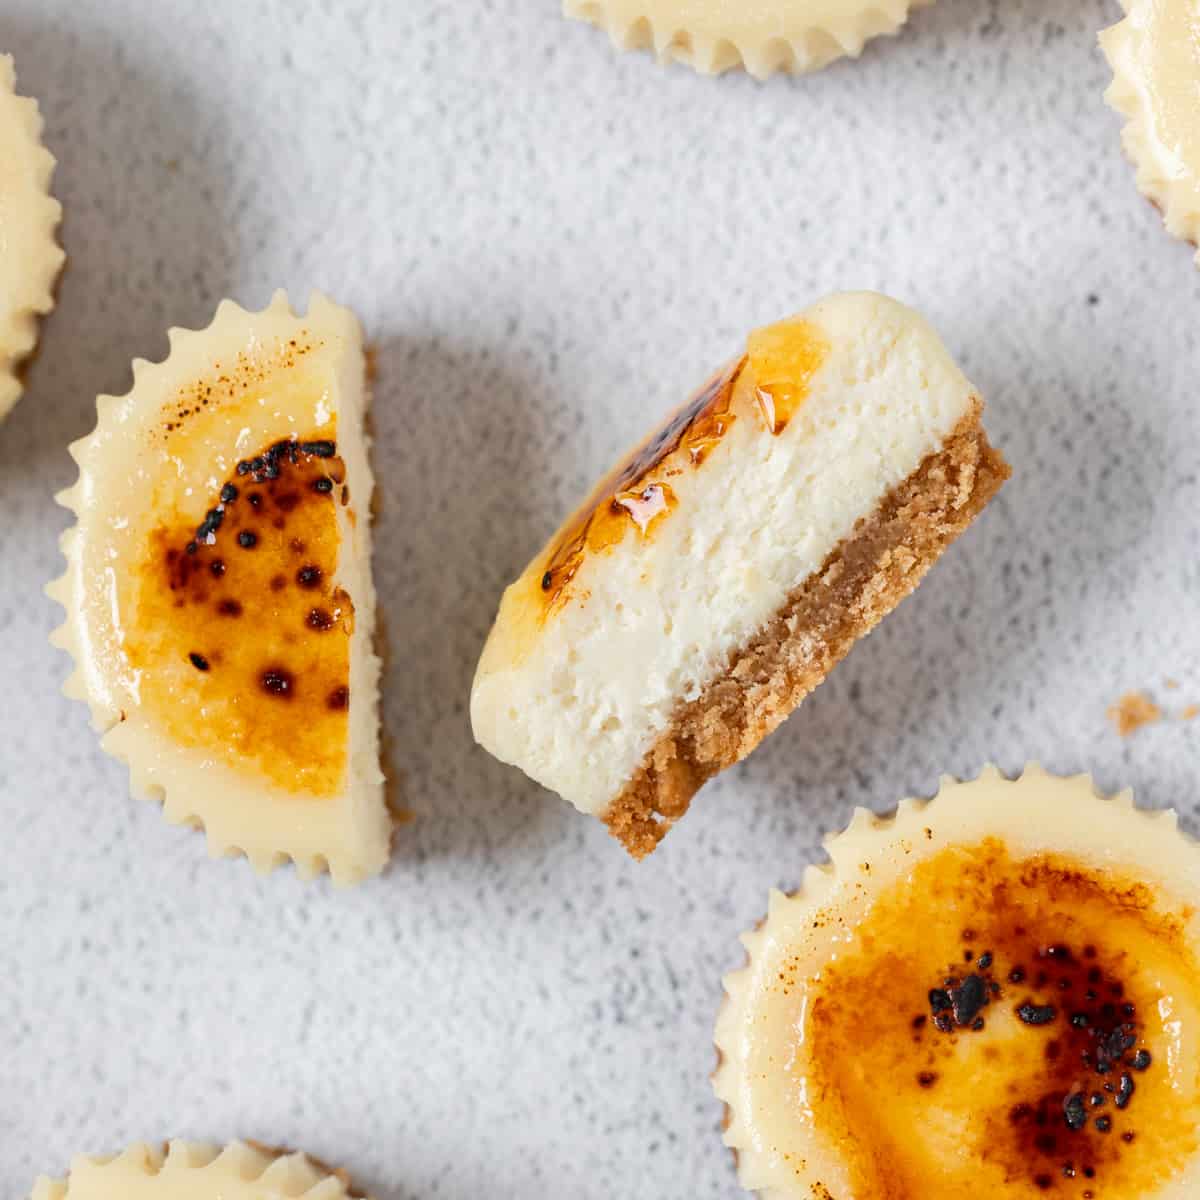
STEP 1: Remove the mini cheesecakes from the fridge and top each with 1 teaspoon of sugar. Using a handheld torch melt the sugar until it turns a caramel color with some darker spots. Allow the cheesecake to sit for a few moments and the sugar will harden.
Expert Baking Tips
- Beat at a low speed. Beating your cheesecake filling at a low speed will prevent air bubbles from forming. It takes a bit longer, but it is worth it in the end.
- Make sure your ingredients are at room temperature. If all of your ingredients are at room temperature they will combine a lot easier and it will prevent lumps from forming.
- Scrape down the bowl. I scrape down the bowl often while making the cheesecake filling. This ensures that everything is getting well combined.
- Don't over-bake. A lot of times we think cheesecake isn't done baking because it is still jiggly, but this is when we want to stop the baking process. If you let the cheesecakes cool in the oven and then in the fridge they will set up and be a perfect consistency.
Recipe FAQs
Absolutely! These mini creme brûlée cheesecakes freeze and refrigerate really well if you store them before you add the topping. You should always add the topping right before serving if you want it to be really crunchy. If you freeze them be sure to take them out of the freezer about an hour before you are ready to serve.
The ingredients weren't at room temperature when you mixed the batter. It won't affect the taste of the cheesecakes, but the texture will be off.
Room Temperature: The cheesecakes shouldn't be held at room temperature for too long because it is cream cheese based. I wouldn't recommend longer than a few hours.
Refrigerator: If stored correctly in an airtight container the Mini Creme Brûlée Cheesecakes will last up to 1 week in the fridge.
Freezer: If stored correctly in an airtight container it will last up to 2 months in the freezer.
Sugar pulls the moisture out of the air or whatever it is touching. So the longer that the sugar is on top of the cheesecake the more moisture it will soak up and lose it's crunch. This is why I recommend caramelizing the sugar right before serving.
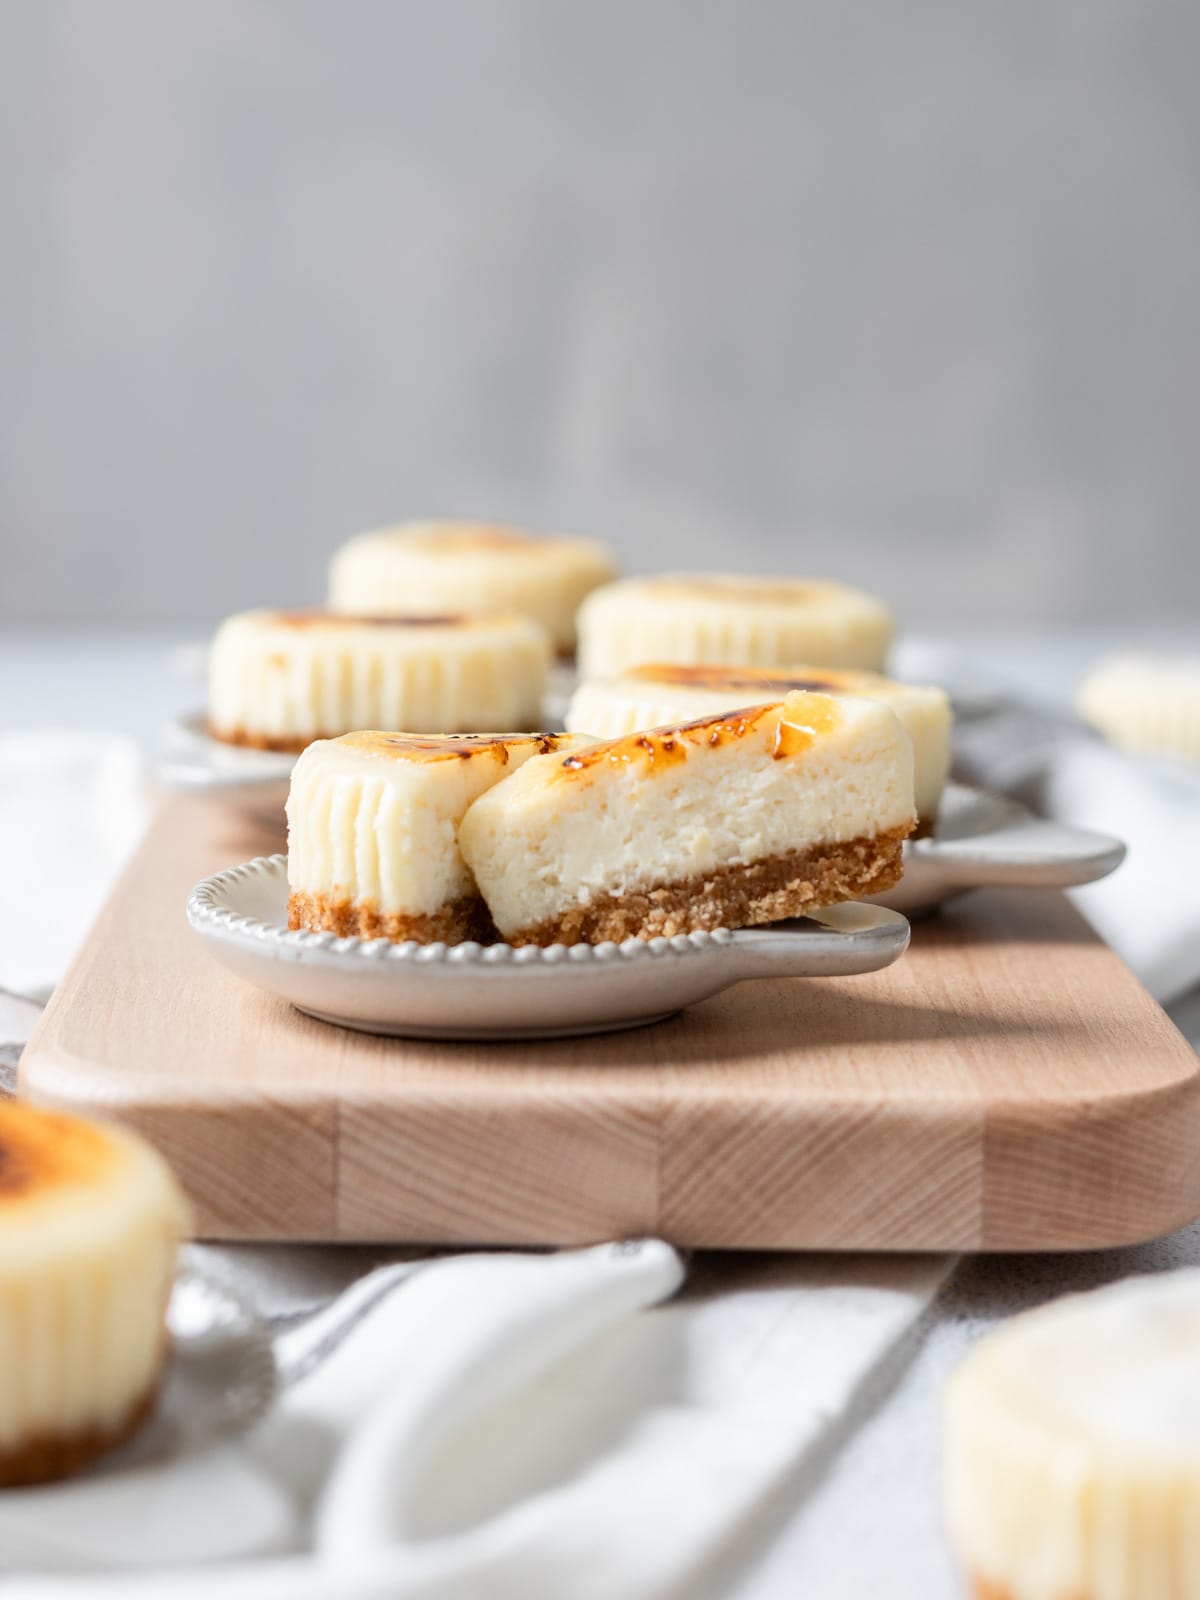
More Recipes You'll Love
If you tried these Mini Creme Brûlée Cheesecakes or any other recipe on my website, please leave a star rating and let me know how it went in the comments below. I so appreciate hearing from you!
Recipe
Mini Creme Brûlée Cheesecakes
Ingredients
For Crust:
- 6 sheets graham crackers crushed
- pinch of salt
- 1 ½ tablespoons (18 grams) granulated sugar
- 3 tablespoons (42 grams) unsalted butter melted
For Filling:
- 2 blocks (454 grams) cream cheese room temperature
- ¾ cup (150 grams) granulated sugar
- 2 large eggs room temperature
- ⅓ cup (75 grams) heavy cream room temperature
- 1 tablespoon vanilla extract
For Topping:
- ¼ cup (50 grams) granulated sugar
Instructions
For Crust:
- Preheat the oven to 325 degrees (F). Line a 12 cavity cupcake tin with cupcake liners and set aside.
- In a small bowl combine the graham cracker crumbs, salt, sugar, and melted butter. Mix until fully combined. The mixture should be the texture of wet sand.
- Use the bottom of a clean cup to firmly press about 1-1 ½ tablespoons of the crumb mixture into each liner.
- Bake the crusts for 8-10 minutes or until golden brown. Remove the pan from the oven and allow to cool completely.
For Filling:
- Turn the oven down to 300 degrees (F).
- In the bowl of a stand mixer or in a large bowl with a hand mixer, beat the cream cheese and sugar together on low speed until fully combined and smooth.
- Add the eggs one at a time, mixing well and scraping down the sides of the bowl between each addition.
- Add the heavy cream and vanilla. Mix until fully combined.
- Fill each liner up almost to the top.
- Bake the cheesecakes for 15 minutes. Turn the oven off and allow the cheesecakes to sit in the oven for 30 minutes. Crack the oven door open and allow to sit until cooled to room temperature.
- Transfer cheesecakes to the fridge until ready to serve.
For Topping:
- Remove cheesecakes from the fridge and top each with 1 teaspoon of sugar.
- Using a handheld torch melt the sugar until it turns a caramel color with some darker spots. Allow the cheesecake to sit for a few moments and the sugar will harden.
- If you don't have a torch you can place the cheesecakes under the broiler until the sugar is melted.
Notes
- Beat at a low speed.Beating your cheesecake filling at a low speed will prevent air bubbles from forming. It takes a bit longer, but it is worth it in the end.
- Make sure your ingredients are at room temperature. If all of your ingredients are at room temperature they will combine a lot easier and it will prevent lumps from forming.
- Scrape down the bowl. I scrape down the bowl often while making the cheesecake filling. This ensures that everything is getting well combined.
- Don't over-bake. A lot of times we think cheesecake isn't done baking because it is still jiggly, but this is when we want to stop the baking process. If you let the cheesecakes cool in the oven and then in the fridge they will set up and be a perfect consistency.
- The provided nutrition information is an estimate. The calorie accuracy is not guaranteed.

Danielle says
CAn this recipe make a whole cheeSecake instead of the minis? Are what are the adjustments .. loved the minis so much but wish to bake a whoke cake 😬
Ellie Haley says
I’ve never tried but I’m sure you could! If I were going I would do 1 1/2 of the crust recipe and double the filling. I’d bake at 275F with a water bath for about 2 hours. Let me know how it goes!
Nehal says
GoinG to make these for my sisters bday next week since cReme brulee cheesecake is Her favourite! I am wondering if there is a way to convert this recipe for a standard 9 inch baking pan. Thanks!
Ellie Haley says
I’ve never made these any other way than mini, so I’m not sure what the necessary conversions would be!
AleXis says
These were a hit! Thank you for the wonderful recipe 🙂
Ellie Haley says
So glad you enjoyed them!
Alexis says
Hi!
If i am making these a day before i want to Serve them, should i wait until the day of to do the brulee toPping? Or can i go ahead and do the topping the day before? Thanks!
Ellie Haley says
I would wait until the day of! As close to when you want to serve as possible. If you leave it too long the sugar will get sticky instead of crunchy
Vanessa says
Loved it so much! Just a great recipe and the perfeCt combination of melting cheesecake and a crunchy sugar crust.
For a little fresh twist just add a splash of lemon juice to the batter.
Caitlyn says
Amazing!! Super siMple recipe Yet GREAT taste. Creme brulee is my favorite dessert and cheesecake is my husbands so these will be a reGular in our house.